|
|
|
|
|
|
Lighting
The lighting in this scene is a fairly straight forward set up. Since I plan on using Brazil to render this scene it cuts out the lights I would normally use to simulate bounced light. Although I'll be describing the settings I used in Brazil, and 3rd party render should be able to achieve the same results, including MAX's new light tracer. As I mentioned earlier this scene already has the one sunlight. After doing some test renders of the full scene it was still coming out quite dark. I could make Brazil bounce the light around more, but this will really increase the render times. Instead I added an omni light into the exact centre of the scene and gave it a low multiplier of 0.3 and turned off shadow casting. This essentially brightens up the scene a little and gives Brazil more light to bounce around without actually adjusting the bounce setting. This additional omni light has little effect on the render time.
Something to keep in mind when creating highly detailed scenes is the actual render time. If it's a still image, it's not nearly as important as it would be for an animation. Waiting an hour for a single final image is not that bad, but if it takes an hour per frame and you've got 240 frames it will make a huge difference with render times.
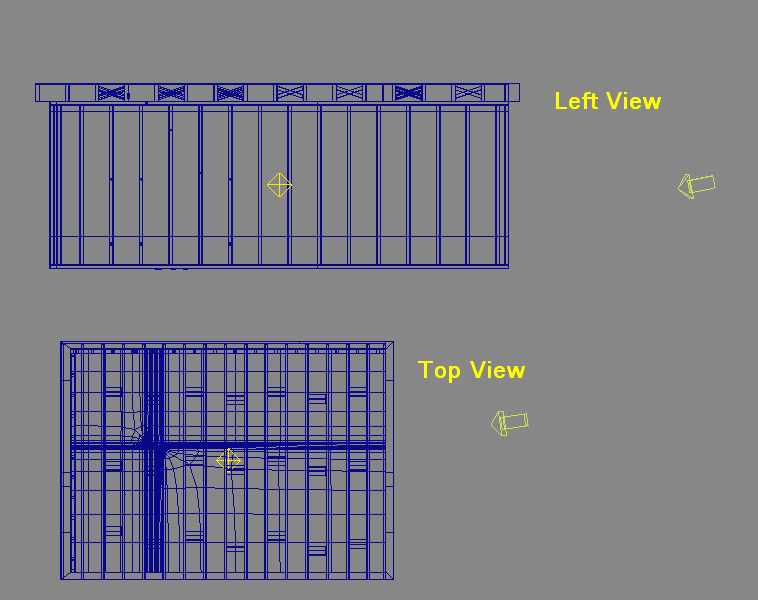
Positioning of the lights:
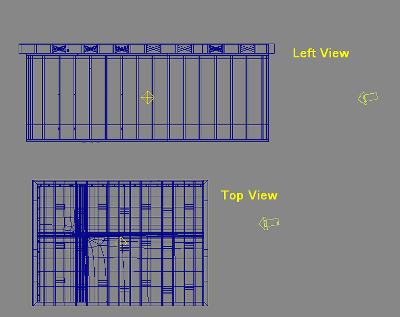
Important settings for Sun and Omni light respectively:
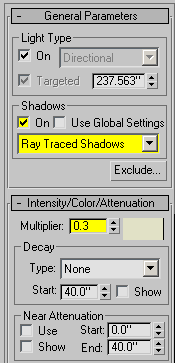 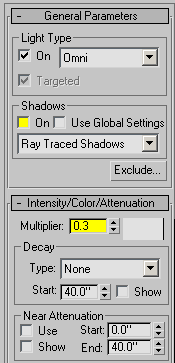
I only changed a few settings from the light defaults. The multiplier on both lights is set at 0.3. The reason for this is that we will be using a Brazil Skylight and bounced light with high "Diffuse Energy" (This will all be explained in the next section). Raytraced shadows were used on the sunlight so that we end up with a nice sharp outline of the sun on the wall and floor. Since the omni light is just to increase the overall light inside the room I turned off shadow casting for it. The sunlight was also given a yellowish tint to help simulate real sunlight.
Render Settings
As mentioned earlier this scene will be rendered with the Brazil Render System. Upon opening the render settings window for the first time, you'll most likely be overwhelmed by the number of settings and options there are. This tutorial will only be covering a few of the more important ones.
Note, I'm currently using 3D Studio MAX 5 so the render window will look different if you're using MAX 6 or 7.
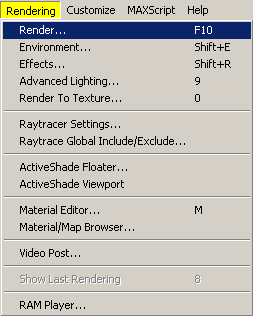
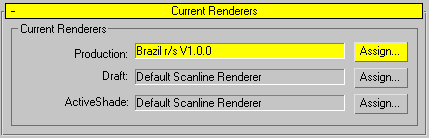
Now that we have Brazil setup as the current renderer it's time to add in the skylight and bounced light. There are only two rollouts that we will be concerned with here. The first being the "Brazil: Image Sampling" rollout and the "Luma Server" rollout.
There are only two settings we need to look at in the Sampling rollout, Min and Max Samples. These are one of the ways Brazil determines the quality of the final render. Obviously the higher the sample rates the better the quality. This of course increases the render time. I've found that Min. 1 and Max. 2 gives a pretty good quality to speed ratio. If you plan on using this for print work, you might want to just bump the samples up a bit and wait the extra time.
Our next group of settings is in the Luma Server. There are a number of things we need to take care of here. The first is activating the skylight. This will produce the "Global Illumination" that will brighten up the scene. The next thing we need to do is activate "Indirect Illumination". This allows us to now control the way light is bounced around the scene. We need to increase the "Diffuse Energy" of the scene. This takes brighter colours and lets them bleed out into the scene, which is useful for spreading light. Simply increasing the diffuse energy will produce a lower quality render however. The default "View Rate" and "Sec Rate" settings are not sufficient enough to produce a clean render when using increased "Diffuse Energy". I increased these settings slightly to 25 and 10 respectively. These are like the Min/Max samples we used earlier. The higher the numbers the cleaner the render, but the longer it will take.
That's it for the render settings I used in this scene. There are a ton of other settings in Brazil and I encourage you to read up on them and try them out for yourself. I just wanted to quickly cover those that were used for the creation of this scene. At this point I'd like to mention that I am by no means an expert with Brazil. I have been using it since it was released in Beta version under the name Ghost and have learned what I know through personal experience and testing. If there are any Brazil experts out there that disagree with what I've just said, then by all means please help me to correct the info.
Post Processing
It took me quite a while to adopt post-processing into part of my regular workflow. Now that I've gotten used to it, I will never consider an image finished until I've done at least some tweaking in Photoshop. By now you should have a rendered version of your scene. If it's anything like mine it's probably a little bland looking. I planned on that from the start though as I intend to spice it up in Photoshop a bit first. Why not render it properly the first time you might ask? I used to think that way until I saw the ease of post processing. To change things around in MAX you would have to re-render the entire image. If the render times are very quick this might not be a problem, but if you're working with render times of 20 minutes and up, chances are you don't want to be doing test renders all day. With post processing you can change the colours of objects instantly or even composite in render-heavy effects like volume light in real time.
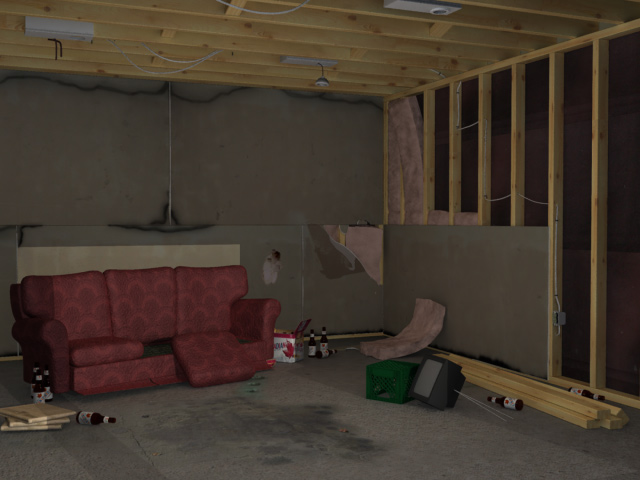
Render straight from MAX:
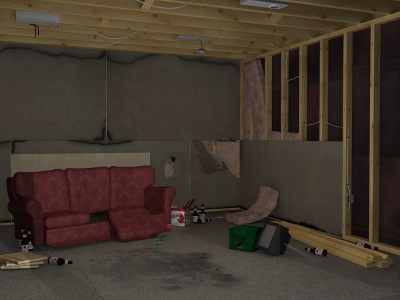
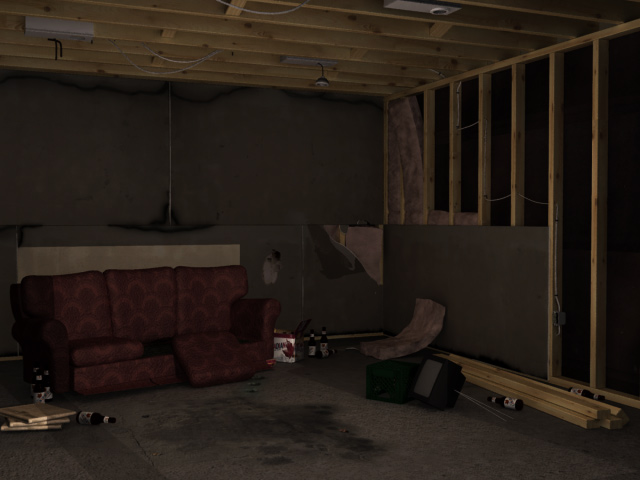
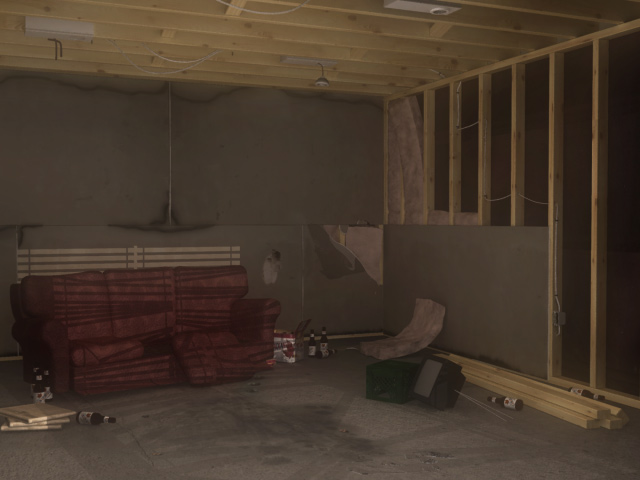
The changes I intend to make to this image are minimal, but I feel really help to bring it to life. First, I run the image through a 3rd party plug-in for Photoshop called "Digital Film Lab". Along with a huge array of colour correction tools, it also includes a "Bleach Bypass" filter. "Bleach Bypass" is a method of altering film leaving the image with increased contrast, reduced saturation, and often times gives it a pastel effect. Along with the Bleach Bypass I give the image a slight sepia tint. The result is this:
Render after Bleach Bypass filter:
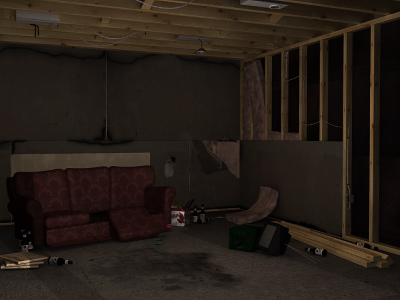
Now the render is quite dark and all our hard work has disappeared. This is where the next round of post processing comes in. I've set this up as an action-script in Photoshop since I use it so often, but it's really only a few steps.
- First duplicate the layer with your render on it.
- Use a heavy Gaussian Blur so that all you're left with is big blotches of colour.
- Set blending mode for that layer to Screen
- Set opacity of blending mode to 40
- Duplicate the blurred layer and blur it again, and use the same blending mode settings
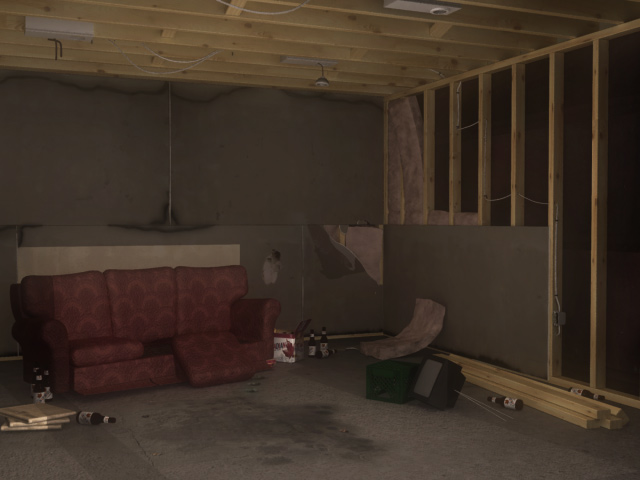
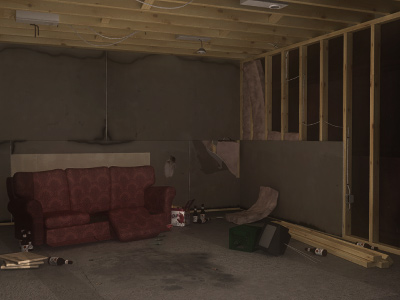
You should now have an image with 3 layers. Each new layer brightens the scene and also diffuses the highlights. The same technique works well for creating "Specular Bloom" as well, only you just blur each layer slightly. The blurring also fakes radiosity somewhat. Rather than having perfectly sharp dark and light patches, they now blend into each other, much like bounced light does.
Render after blur layers:
Final Words
I've now taken you through the process of creating a detailed scene from concept to final render. I left some of the explanations a bit loose so that you can try things on your own and experiment with what I've said. I find open-ended tutorials like this a much more valuable learning experience than simply telling you which buttons to push. I tried to explain my methods as best I could and offered reasons for why I did what I did.
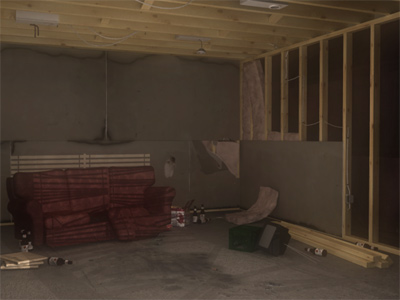
After completing the tutorial I went on and added my own extra details to the scene. I want anyone who's followed this tutorial to come out of it with their own unique image. That is the reason why I never discussed the placement of the objects or the camera angle used. I wanted to leave that sort of thing up to you. This is the final rendered that I ended up with:
Final Render:
If you have any questions or comments, or would like to show me your results from this tutorial, please e-mail me.

|
|
|
|
|
|
|
|
|
|
|
|